⚙️ Panduan untuk Desain Cetak 3D
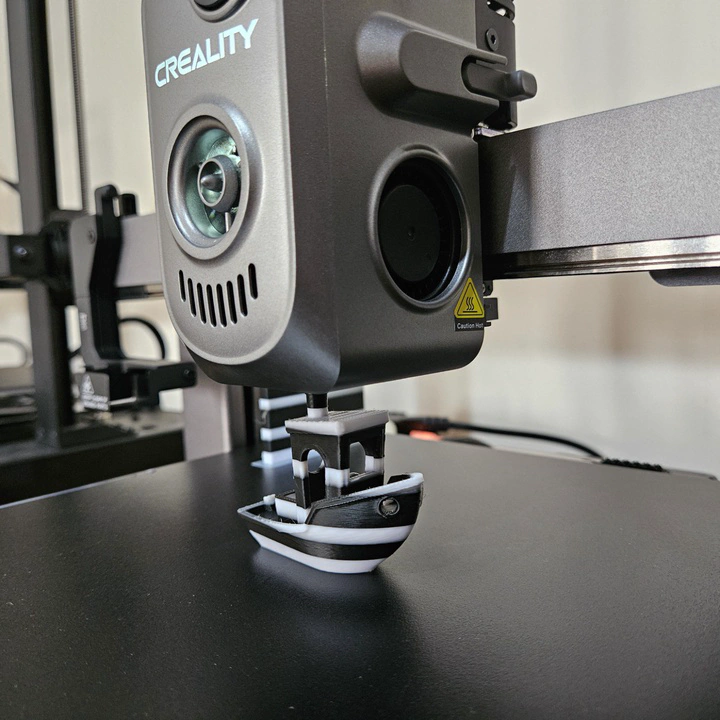 Multicolor Benchy
🔧 Panduan untuk Desain Cetak 3D
📌 1. Pahami Cara Kerja Percetakan 3D.
Sebelum mendesain, ketahui dasar-dasar pencetakan 3D FDM:
- Filamen plastik dicairkan dan diendapkan lapis demi lapis.
- Overhangs dan bridges membutuhkan supports.
- Keterbatasan printer memengaruhi desain Anda: ketebalan dinding, sudut overhang, ukuran alas cetak, dll.
💻 2. Pilih CAD Software
Pilih Software yang dapat melakukan exports .STL, .STP, or file mesh lainnya:
| Skill Level | Software | Notes |
|---|---|---|
| Beginner | Tinkercad | (Free Web-based) Drag-and-drop UI great for basic design and learning |
| Intermediate | Fusion 360 | (Free for hobbyists) Professional features parametric design |
| Intermediate | FreeCAD | Open-source parametric modeling |
| Advanced | Blender | Best for organic shapes and art; steeper learning curve |
| Advanced | SolidWorks | Professional features; steeper learning curve |
- Jika Anda ingin mendesain part mekanikal, gunakan SolidWorks, Fusion 360 atau FreeCAD.
- Untuk desain artistik, gunakan Blender.
📏 3. Desain untuk Dapat Dicetak
Perhatikan aturan desain berikut:
| Feature | Recommendation |
|---|---|
| Wall thickness | Minimum 0.4 mm |
| Overhangs | Max ~45° without support |
| Bridges | Keep short use chamfers if needed |
| Tolerances (moving parts) | 0.2mm(very tight fit); 0.25mm(good fit); >=0.3mm(loose fit) |
| No floating parts | Every part must connect to the model |
| Max Dimensions | 260 x 260 x 300 mm |
| Files | Export as STL STP or other mesh files |
| Material | PLA+ PETG ASA TPU |
🧠 Think in layers: Model dicetak mulai dari bawah ke atas.
🧪 4. Export dan Cek File
Export model Anda sebagai STL,STP, atau file mesh lainnya.
📚 Tips Tambahan
-Gunakan parametric design jika ukuran pada desain sering berubah.
-Chamfers lebih baik dibandingkan fillets untuk overhang.
-Bagi model kompleks menjadi beberapa bagian.
-Gunakan threaded inserts atau snap fits untuk perangkaian fungsional.